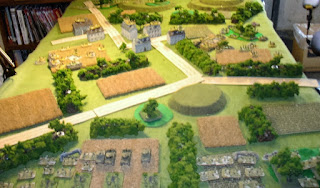
In light of the terrain density of the table, we both took infantry.
Dave had:
3 platoons of infantry
Weapons platoon--MGs and mortars attached out
80mm mortar platoon
4.2in chemical mortar platoon
4 Shermans
1 sniper (how exotic)
I had:
3 platoons of Fallschirmjager
1 MG platoon--attached out
1 80mm mortar platoon
2 75mm recoilless guns
3 StuGs
The scenario we rolled up was Surrounded, in which the defender is in the middle with attackers coming from both sides. I was lucky enough to be the defender.
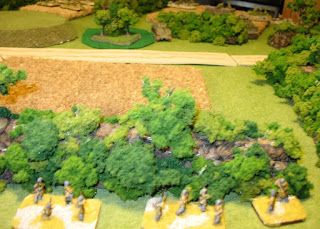
The left side of the table. My Germans line up along the hedgerows.
I brought quite a few men as well.
The right side of the table. There are far fewer Americans over here.
Initial movement on the right. American infantry lurches forward.
The Americans move forward. Some lucky mortar fire pins down a platoon.
The Americans advance again! How terrible!
On the left side, the Americans continue to advance, except for the still-pinned-down platoon.
They're crossing the field towards us.
We can see the tanks across the rows of crops.
They're coming for us on the other side of the table as well.
My mortars are hit by an airstrike and one is lost.
They then exact their revenge on the advancing infantry nearest them.
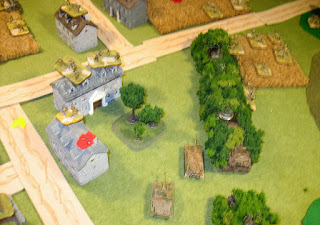
The attack on the left picks up steam, so my armor has to intervene.
Note the sniper in the lower right and his kill in the upper left.
Plus the bazooka I didn't notice when moving my StuGs. Hedgerows are concealing!
My infantry watching the enemy approach.
There are shapes moving behind those hedges...
..those shapes. The Americans draw closer to my top objective.
We keep them out of our town for one more turn.
So far, my position still holds pretty strong.
I have, however, suffered some losses all around, and the enemy are in the town.
We manage to cause heavy casualties with our small arms on the bottom.
The Americans show no sign of vacating my town.
They steadily pack into the field, readying themselves for the assault.
My light guns brews up two tanks, the first two hits it got all game!
Infantry casualties mount on both sides.
We hold the next building against the attacking infantry, for now.
Artillery takes a toll on the platoon facing to the right flank. It would later run away.
My infantry survives the assault, but at a high cost.
All three involved platoons are pinned down.
Casualties have been extreme; I got lucky that nobody ran away after the assault!
This isn't over.
My forces on my objective become surrounded.
The situation isn't that good.
The Americans assault for a second time, and my infantry is wiped out.
They ready themselves to defend against whatever I can throw at them.
The only thing I can, in fact, throw at the objective is my StuGs, which fare poorly.
With that, the game is lost as I can't contest the objective.
The final shot.
So, I lost. As is typical. I figure I should have shifted more force to the top objective sooner, as soon as he committed his armor there. Perhaps my mortar fire as well, if I could have (I'm not sure I had an observer that could see over there).
The sniper was more deadly than expected--he essentially immobilized my infantry platoon over there! I think snipers really hit their stride with infantry battles like this one.
Given the effort we put into this table, I think my next battle will probably be on it as well. I hope to have a report for you next weekend!


No comments:
Post a Comment