Saturday, June 27, 2015

Defense of Bykhov

Now that I have all my good firestorm troops in Berezino instead of Bykhov, Dave is attacking me in Bykhov to cut off supplies to Mogilev and Orsha.
We're playing a free-for all in somewhat clearer terrain. He's attacking my infantry with tanks! While an atypical choice for him, I have to say it kind of makes sense.
My Sturmkompanie:
2 platoons of infantry
MG platoon
Infantry guns
5 PaK40s in 2 platoons
3 flak guns
2 Tigers
Firestorm troops: 1 platoon of armored infantry
 
Dave's tanks:
2 T-34 companies (some 85s mixed in)
3 SU-122s
1 infantry company (nothing special for once)
6 T-70 light tanks
Firestorm troops: Air support, 5 SU-76s
 
Here are the pics!
Deployment. I have the half-tracks on the left and infantry on the right.
He double-timed 32 inches onto my flank! T-34s...
On the other flank he starts advancing and destroys a halftrack.
My halftracks take my first blood, then the infantry got under cover.
My tigers start playing peekaboo.
That's a lot of tanks.
It seems more manageable on my left.
The PaK40s take care of the SU-122 bunker busters.
Then I lose one of the guns.
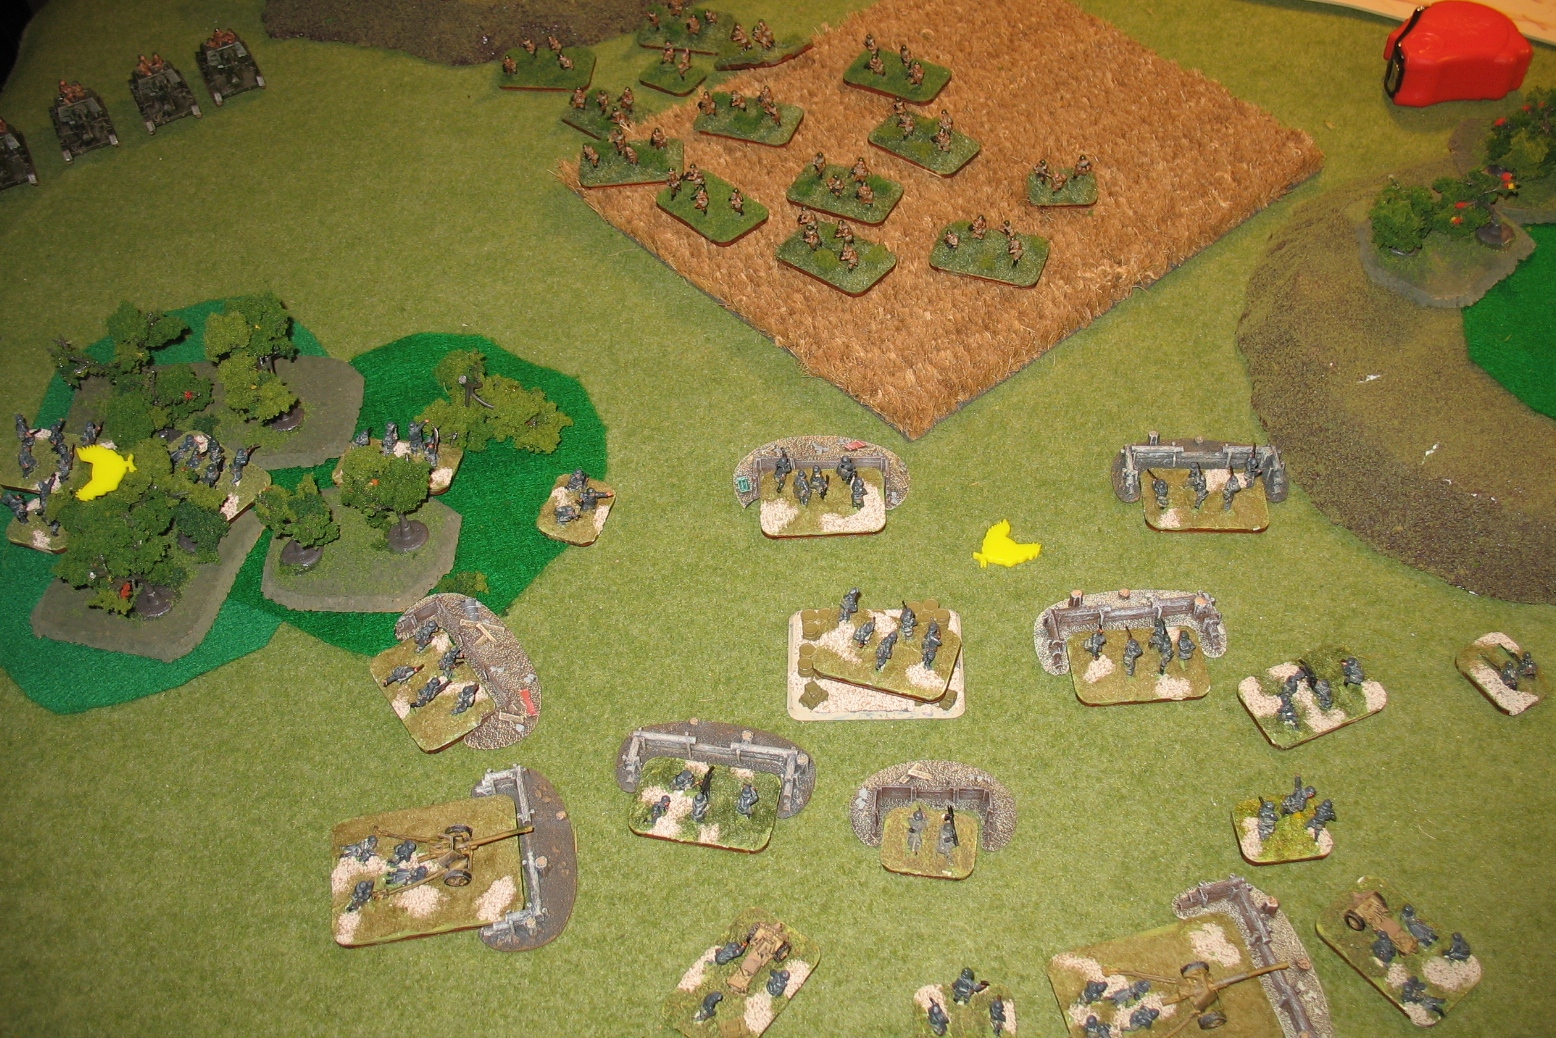
The Soviet cowards hide in the field!
I get bombed frequently. It has no effect but to pin me. Also you will notice our incredible aviation budget. It's like staff teams.
The PaK guns kill some T-34s then move over to defend my flank.
I set up to assault the SU-76s (they are defenseless) then get pinned.
I then get counterassaulted and lose almost everyone.
A massive tank assault forces me almost all the way off the objective.
My heroic flak gun commander destroys 2 baby tanks!
My tigers have started moving to the rescue. Too slow?
The left flank seems to have stagnated.
 There was an assault. Both sides took light casualties before the Soviet cowards retreated!
They formed up so I can't contest the objective.
I duly fail to contest, then Dave wins the game.
 
I needed to use halftracks and/or Tigers as reserves. That or trust concealed veterancy to keep my Tigers safe and inflict heavier losses. Dave did well using his superior mobility to kick half of my forces' butts while ignoring the other half.
 
I've lost Bykhov now and that's gonna hurt. Orsha and Mogilev will suffer the effects of out-of-supply when Dave attacks them next.
Our next battle will be my counterattack; I hope to have it up sometime this week.

Sunday, June 21, 2015

Recapturing Berezino...Hopefully

Berezino controls the supplies for my center, so I had to recapture it. Knowing that I would have to dig out Soviet Infantry had me preparing accordingly:
 
Grenadier Company
2 Grenadier platoons
Fallschirmjager platoon
2 MG platoons
Mortar platoon
3 105s
3 Nebelwerfers
3 PaK40s (he was gonna have tanks too, of course)
Firestorm troops: 2 Tigers, Armored panzergrenadier platoon
I got lucky when I rolled on the low supplies table and got a motivation bonus, so the whole force is fearless, except the Fallschirmjagers and Tigers which are 2+ fearless.
 
Dave did, of course, defend with infantry:
2 massive infantry platoons
Fluff for the infantry (ATRs, etc.) -- I wasn't paying that close of attention, and the nuances of Dave's Soviet list-building are truly beyond me.
3 AT guns
Artillery
4 SU-85s
Firestorm troops: T-34/85s, SU-76s
 
The mission was Hold the Line, which is similar to No Retreat but with delayed reserves balanced by extra ambushes.
 
Our deployment--I have infantry across the front with support immediately behind.
Dave's Horde® is deployed deep, with AT guns and artillery in ambush.
I surge forward, and my Tigers get first blood.
I may have just as much infantry on the table as Dave at the moment!
The first turn sees some assaults on the right flank...
and the left, by the Fallschirmjagers.
Turn 2 sees an incredibly bloody assault by the Fallschirmjagers. There are only 2 teams of them left!
I consolidated my position in the fields on the right, too.
Turn 3 sees my right flank fail 2 assaults! Next turn, I guess...
The Fallschirmjagers popped in the Soviet counterassault, but I fortunately came with a second echelon.
The Soviets got SU-85s for reinforcements and promptly blew up both my Tigers!
I assault on both flanks, and both Soviet companies pop!
This included the company commander, so they flee the field!
Veteran infantry did its job.
 
My MG-and-artillery-heavy list did its job and ground the commies down to nothing. The losses of the tigers by incredibly precise SU-85 fire and Fallschirmjagers (I don't intend on typing that word again for a while) by failed sole survivor check (2+ fearless? yeah right) were both unfortunate and improbable, so I should have won by more. But it is what it is, and that's a victory!
 
I now recaptured Berezino, returning supplies to Orsha, Mogilev, and Bykhov. I also managed to get my tigers out of Bykhov.
 
Next up: the Soviets regain initiative and strike Bykhov to try and cut off the two cities. It looks like a sitting duck at this point, with nothing but armored infantry in the open (!). Time will tell.


Monday, June 8, 2015

Defending Berezino

 
My cunning father has attacked Berezino to but off supplies to Bykhov, Orsha, and Mogilev. We decided to try the River Crossing scenario they had in the book, as he was, in fact, crossing a river.
 
Pretty much, you set up with some fortifications on 3 objectives, then one gets removed. Then you sit through a preliminary bombardment that kills half your teams! In light of this, I took a Sicherungskompanie. This is a security company from Grey Wolf. It's got some crappy Reluctant Trained infantry with almost no organic support, then you take some decent platoons as support and counterattack with them. That's the plan here.
Lists in brief:
 
Jordan's Sicherungskompanie:
3 bad infantry platoons
Mortar and MG section (2 of each, remember how I said this company sucks?)
2 infantry guns
3 36mm AT pop guns
2 105s
2 Panzergrenadier platoons
3 StuGs
3 Panzer IVs
Firestorm troops: Armored panzergrenadiers
Fortifications: 2 MG bunkers and some mines and wire
 
Dave's Shtraf Battalion:
2 Shtraf companies (Shtraf is 2+ fearless with Commissars everywhere and always attacks)
4 Katyushas
MG platoon (and yes, they have a commissar. Not sure why though.)
4 SU-122s
Firestorm troops: 5 SU-76s and 3 T-34/85s 
The initial setup.
That's a lot of assault troops!
My forces after the preliminary bombardment.
The battle was actually fought at Dawn. Here's the real beginning.
Closer in. I will not do it all this way; it really impacts picture quality.
Dave foolishly double-timed...8 whole inches. I punished him for it.
I get some turn 1 reinforcements.
The commies start crossing the river.
They assault the front of my (thankfully deep) position.
I got some StuGs! And had very bad bog checks.
My position is holding so far.
Another good round of shooting.
Dave assaulted me again, and he didn't do so hot.
On the right flank, I got some Panzers and artillery.
I seem to have driven them off on the right flank.
He assaults my infantry in the woods, and almost all of them died.
The last of the commies are now crossing the river.
He burns my bunker and one of my tanks.
In return, I brew up half of his SU-122s. They did their job, though.
Spot the differences! Hint: All the Soviets moved forward. Sigh. It never stops.
I have to start shifting from the left flank to the right.
My pop guns turn around to fend off the assault.
When he bombarded my infantry, he got my staff team! And that means he got my table! We're not sure why they have tables, but we do make sure to make a big deal out of it.
I lost due to too many casualties and losing my C.O. in a Katyusha bombardment. But really it was all because of the staff team.
 
It was another one of those hard scenarios, and the Horde® of shtraf did not help.
 
Consequences: I lose Berezino, and this creates a pocket, potentially turning Orsha and Mogilev into sitting ducks.

The map.
Our next battle will be a breakout attempt. I'd sure like to get those Tigers out of Bykhov!